
iTop Screen Recorder: What You Need to Know Before You Record
Recording a screen sounds simple until you actually need to capture a presentation, online class, software demonstration, gameplay session, webcam video, or long tutorial without turning the process into a technical project. iTop Screen Recorder is designed around that problem, combining screen capture with webcam, audio, game recording, screenshots and video editing in one Windows application.
The current product page highlights screen recording, audio and voice capture, gameplay recording, Auto Focus Recording and GPU acceleration, while the official user documentation describes separate Screen, Webcam, Only Audio and Game recording modes.
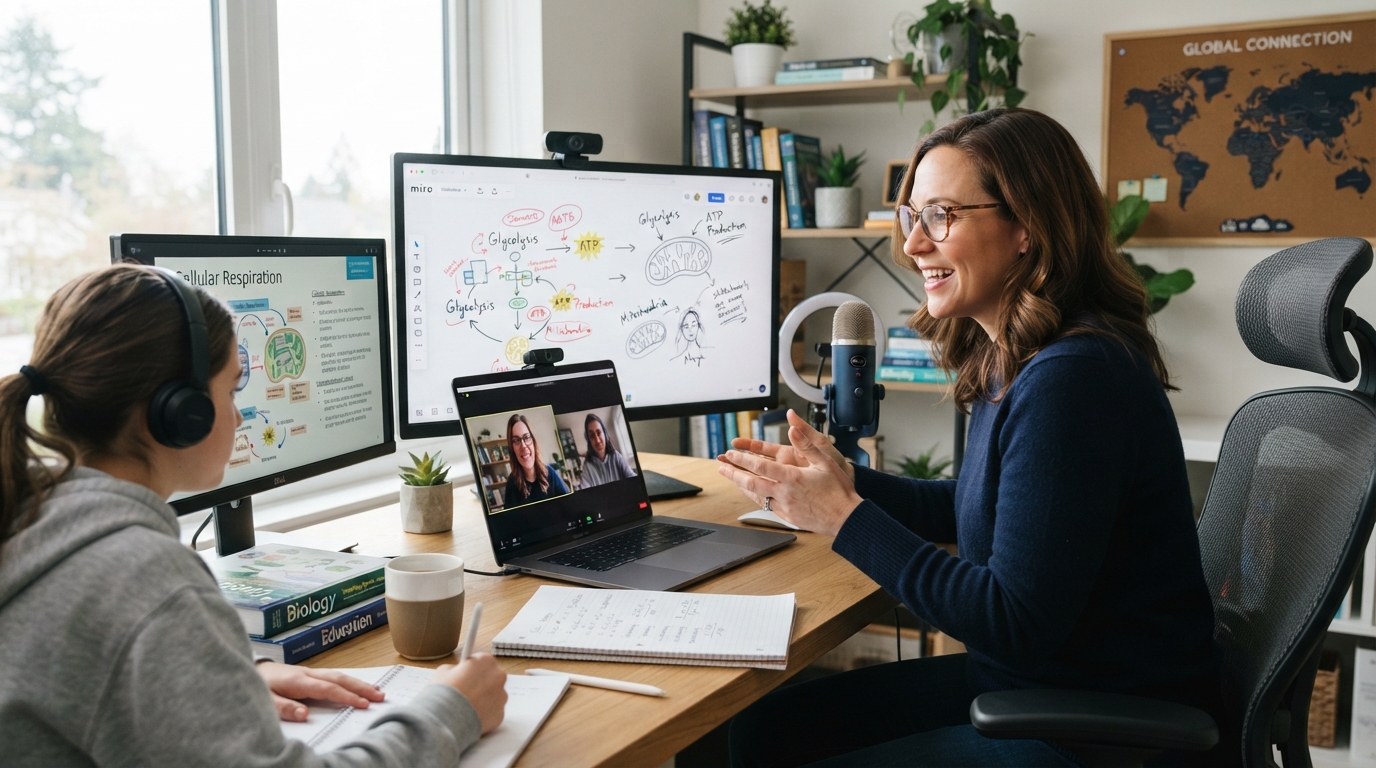
That combination makes the software relevant to several different audiences. A student may need it to save an online lesson. A teacher can use it to explain software on screen. A gamer can capture gameplay. A YouTube creator can record a tutorial with a webcam overlay. A business user can demonstrate a workflow to colleagues or customers.
The real question, however, is not simply whether a recorder can capture your desktop. Most modern recording applications can do that. The more useful question is whether the tool gives you enough control over the recording process while keeping the workflow simple.
This guide takes a closer look at how iTop Screen Recorder works, what it can record, who it is designed for, how to use its main features, what the free and Pro versions offer, and what you should consider before choosing it for your own recording needs.
What Is an iTop Screen Recorder?
iTop Screen Recorder is a Windows-based screen capture and video creation application from iTop. The official documentation describes it as an all-in-one screen recorder, video editor and screenshot tool that can capture activity on a PC and then edit the resulting media.
Instead of requiring separate applications for every task, it brings several recording functions into one interface.
You can select an area of the screen, record a complete desktop, capture a particular window, record a webcam, capture audio, or use the dedicated Game mode. You can also combine screen content with microphone, speaker and webcam input when your project requires it.
This makes the software more than a basic screenshot utility.
Its broader purpose is content creation.
A useful way to understand the application is to divide it into four main areas:
| Function | What It Is Useful For |
| Screen recording | Tutorials, demonstrations, presentations and general desktop capture |
| Webcam recording | Face-cam videos, presentations and online lessons |
| Audio recording | Voiceovers, narration and audio-only content |
| Game recording | Gameplay clips, highlights and gaming videos |
| Editing | Trimming and improving recorded footage |
| Screenshots | Capturing still images from the desktop |
| Sharing | Uploading recordings to supported platforms |
Because these functions are connected, a user can move from recording to basic editing without immediately opening another application.
Who Can Use an iTop Screen Recorder?
One of the strongest aspects of this type of software is its broad use case.
You do not have to be a professional video producer to benefit from a screen recorder.
Students
Students can record software demonstrations, online classes, research presentations and study material where recording is permitted.
A recorded explanation can also be useful when reviewing a complicated lesson later.
Teachers and Trainers
Educators can demonstrate software procedures step by step.
Instead of writing a long explanation such as “click this button, open that menu and change this setting,” a teacher can show the complete process visually.
This is particularly useful for technical subjects.
Gamers
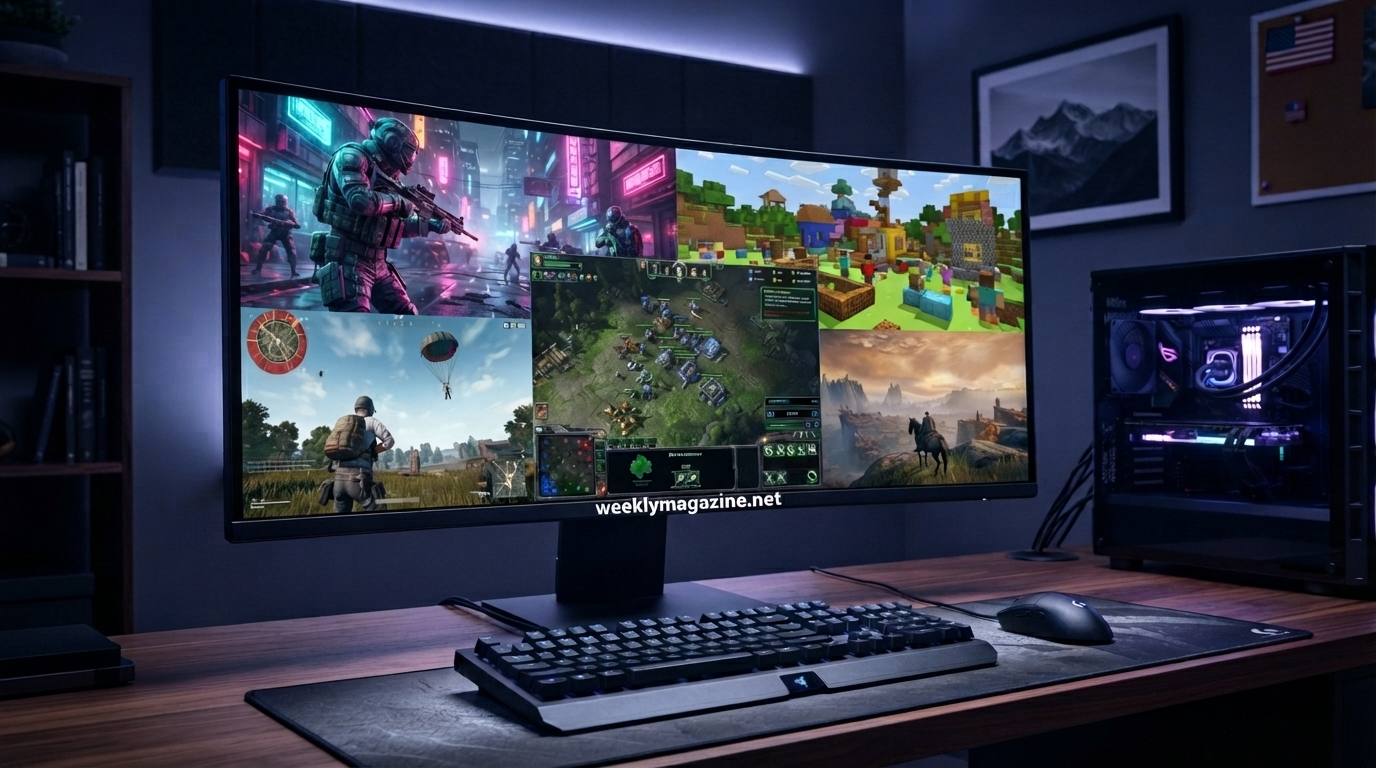
Gameplay recording is one of the major use cases.
The dedicated Game mode is designed to capture gameplay, and the official product page currently promotes GPU-accelerated recording with support for high-resolution and high-frame-rate gameplay.
YouTube Creators
Creators can use screen capture for software reviews, tutorials, walkthroughs, demonstrations and educational videos.
A webcam overlay can add a personal element to the recording.
Remote Workers
A short screen recording can sometimes communicate a problem faster than a long email.
For example, instead of explaining exactly how a software bug appears, a user can record the issue and send the resulting video to a colleague.
Main Recording Modes Explained
The recording modes are where the application becomes particularly practical.
According to the official manual, the main recording area includes Screen, Webcam, Only Audio and Game options.
Screen Recording
The standard Screen mode is designed for capturing desktop activity.
You can select the full screen, a specific region or a window. The current documentation also describes fixed aspect ratios and other selection options.
This flexibility matters because not every recording needs the entire desktop.
If you are explaining a single application, recording only that window can create a cleaner final video.
If you are demonstrating a workflow across multiple programs, full-screen recording may make more sense.
Webcam Recording
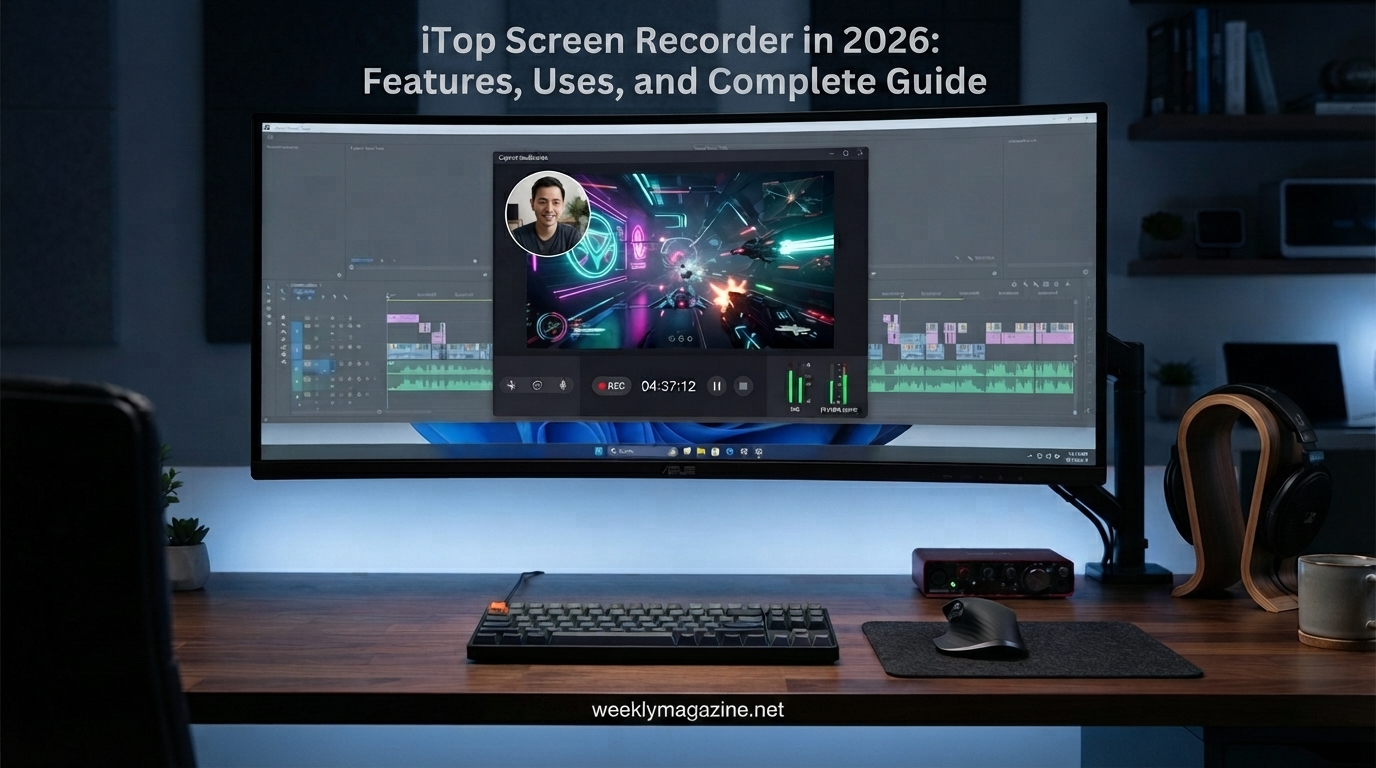
The webcam feature can record your camera independently or place your webcam over screen content.
That makes it useful for tutorials where viewers need to see both the software and the person explaining it.
The official documentation says users can configure webcam settings such as position and size when using an overlay.
Audio Recording
The software can capture microphone and speaker audio.
This allows a creator to record narration while also capturing the sound coming from the computer.
That combination is useful for tutorials, presentations and gameplay.
Game Recording
Game mode is specifically intended for gameplay.
The official manual explains that Game mode can display FPS while recording and provides settings for speaker, microphone, webcam and other game-related options.
The current product page also advertises GPU acceleration and high-frame-rate gameplay recording.
For gamers, this is important because recording software should interfere as little as possible with the game itself.
How to Record Your Screen With iTop Screen Recorder
Getting started does not require a complicated production workflow.
The official instructions reduce the process to selecting what you want to capture, configuring the relevant inputs and pressing REC.
Step 1: Open the Recorder
Launch the application and enter the recording section.
Choose whether you want to record the screen, webcam, audio or gameplay.
Step 2: Select the Recording Area
For screen recording, choose the portion of the desktop you want to capture.
You can select the entire screen, a particular region or a specific window depending on the task.
Step 3: Configure Audio
Before pressing REC, decide whether you want speaker audio, microphone audio or both.
This is worth checking before every important recording.
A perfect video with missing narration is much harder to repair than taking a few seconds to verify the microphone first.
Step 4: Add Webcam if Required
If your video needs a face-cam, activate the webcam option.
You can then position the camera overlay according to your preferred layout.
Step 5: Start Recording
Press REC.
The application can use a countdown before recording, and its documentation also explains keyboard shortcuts for controlling the process.
Step 6: Finish and Save
When you are finished, stop the recording using the on-screen controls or the relevant shortcut.
The resulting file can then be accessed from the application’s file area for playback, editing or further processing.
Can You Record Gameplay Smoothly?
Gameplay recording places greater demands on a computer than ordinary desktop capture.
A browser tutorial may not change rapidly, but a modern game can render hundreds of visual changes every second.
That is why dedicated game recording features matter.
iTop currently promotes GPU acceleration and high-frame-rate gameplay recording on its official product page. It also advertises 4K and 120 FPS gameplay capture in its current feature comparison.
However, recording performance still depends on the computer.
Your processor, graphics card, RAM, storage speed, game settings and selected recording quality can all affect the result.
Therefore, claims about smooth recording should not be interpreted as meaning every computer will produce identical results.
For demanding games, test a short clip first.
Check the frame rate.
Watch for dropped frames.
Listen to the audio.
Then adjust the settings before recording an important session.
Webcam and Screen Recording Together
A face-cam can change the feel of a tutorial or gaming video.
A screen-only recording is excellent for demonstrating software, but a webcam overlay can make educational or commentary content feel more personal.
With the webcam option enabled, your camera feed can appear alongside the screen capture. The official FAQ explains that users can adjust the webcam overlay position and size.
This is useful for:
- Gaming commentary
- Online lessons
- Product demonstrations
- Presentation videos
- Software tutorials
- Reaction-style content
The important point is composition.
Do not place the webcam over a part of the screen that viewers need to read.
A small overlay in an unused corner is usually less distracting.
Recording Mouse Movements and Clicks
For tutorials, viewers need to understand not only what appears on the screen but also what the presenter is doing.
Mouse visibility can make a significant difference.
The official FAQ says iTop Screen Recorder supports mouse-action recording and allows users to enable highlight effects and click animations.
This can make software tutorials easier to follow.
Imagine watching a ten-minute tutorial where the cursor disappears into a crowded interface.
Even if the instructions are correct, the viewer may struggle to identify exactly where the presenter clicked.
Mouse highlights solve part of that problem by making cursor movement more visible.
Annotation During Recording
Sometimes explaining something requires more than pointing with a mouse.
You may want to circle an important area, draw an arrow or write a quick note.
The official manual describes a floating toolbar that can provide recording controls and doodling tools while the recording is active.
This is especially useful in educational recordings.
For example, a trainer can highlight a button while explaining what it does rather than relying entirely on verbal instructions.
The result is often easier for beginners to understand.
Built-In Video Editing
Recording is only half of the content creation process.
Most raw recordings contain pauses, mistakes, unnecessary sections or moments that should be removed before publishing.
iTop includes video editing functions designed to help users process recorded footage without immediately switching to a dedicated editor.
The official product materials currently describe quick and advanced editing functions, while its review page highlights editing and export capabilities.
Depending on the version and feature availability, editing can include tasks such as trimming, cutting, adding text, subtitles, effects and other adjustments.
For simple content, that can be enough.
For highly complex professional production, however, users may still prefer a dedicated video editor.
That distinction is important.
A built-in editor is valuable because it speeds up basic work.
It does not necessarily replace a full professional editing suite.
Screenshots Are Part of the Workflow Too
Sometimes you do not need an entire video.
You only need one image.
A screenshot can be useful for:
- Technical instructions
- Blog articles
- Software documentation
- Error messages
- Educational material
- Presentation slides
- Customer support
The official product documentation identifies screenshot functionality as part of the wider toolset.
This makes the application useful for users who move between still images and video rather than creating video content exclusively.
Auto Focus Recording
One of the newer features highlighted by the current product page is Auto Focus Recording.
The feature is designed to automatically emphasize important areas of the screen as the user works, including actions such as cursor movement and text input.
The idea is simple.
Instead of asking viewers to constantly search the screen for the important detail, the recording can help direct their attention.
This can be particularly useful in tutorials.
For example, if a presenter is demonstrating a complicated software interface, automatically emphasizing the relevant activity can make the final recording easier to follow.
Recording Schedule
Scheduled recording is another feature that becomes useful in specific situations.
The official user manual describes Recording Schedule as a Pro feature that can automatically begin recording at a selected time and end according to configured settings.
This could be useful for users who need to capture something at a predictable time.
Examples might include a scheduled presentation, a recurring online session or another event where manually starting the recording would be inconvenient.
For ordinary short recordings, this feature may not matter.
For recurring workflows, it can save time.
Teleprompter for Scripted Videos
Creators often know what they want to say but struggle to remember the exact wording while recording.
The official documentation includes a Teleprompter function designed to display a prepared script during recording.
This can be useful for:
- YouTube tutorials
- Product explainers
- Training videos
- Educational presentations
- Corporate videos
A teleprompter can also reduce the number of retakes.
Instead of stopping every time you forget a sentence, you can follow the prepared script while continuing the recording.
Output Quality and File Formats
Recording quality is not only about resolution.
A useful recording also needs a practical output format.
The official product materials advertise multiple export options, including common video and audio formats.
For most online video content, compatibility matters more than having the largest possible file.
A very high-resolution recording can consume substantial storage.
A compressed file may be easier to upload and share.
The right choice therefore depends on where the recording will be used.
For example:
| Recording Purpose | Practical Priority |
| YouTube tutorial | Quality plus manageable file size |
| Gaming highlight | Frame rate and visual clarity |
| Online lesson | Clear text and understandable audio |
| Software demonstration | Sharp screen details |
| Internal training | Readability and efficient sharing |
| Quick support video | Speed and small file size |
Free Version vs Pro Version
This is one of the most important questions before downloading any software.
The current official comparison shows that the free and Pro versions do not offer identical capabilities.
The official update page currently lists differences involving recording time, high-resolution export, AI-related tools, watermark options, scheduled recording and high-frame-rate gameplay recording.
The exact limits and included features can change as the software is updated, so users should check the current official comparison before purchasing.
The practical approach is straightforward.
If you only need occasional short recordings, test the free version first.
If you need longer recordings, higher-end exports, advanced features or professional workflows, compare the Pro plan against your actual requirements.
What Does an iTop Screen Recorder Pro Cost?
Pricing can change with promotions, regions and subscription periods.
The official iTop review page currently lists Pro options including a one-month plan for one PC, a one-year plan for one PC and a one-year plan for three PCs.
Because software pricing is not permanent, it is better to verify the current price directly before publishing a purchase-related recommendation.
For SEO content, this also matters.
An article that publishes an old promotional price can become misleading within weeks.
Is the iTop Screen Recorder Good for Beginners?
For beginners, simplicity is one of its biggest advantages.
The basic recording workflow is straightforward:
Choose what to record.
Choose the audio inputs.
Press REC.
Stop the recording.
Edit or export.
That is considerably easier to understand than opening a professional production environment filled with timelines, scenes and advanced encoding settings.
The software can therefore be a reasonable starting point for someone who has never used screen recording software before.
At the same time, advanced users should evaluate whether its editing and production capabilities match their specific workflow.
Third-party comparisons show that users also consider alternatives such as OBS Studio, Snagit, Camtasia, Riverside and Loom depending on their needs.
iTop Screen Recorder vs OBS Studio
OBS Studio is one of the most recognizable alternatives in this category.
It is free and open source, and it is especially popular among streamers and advanced users.
The difference is largely about workflow.
OBS offers extensive configuration and streaming-oriented controls.
iTop focuses more heavily on a guided recording experience with integrated editing and utility features.
If you want extensive customization and streaming controls, OBS may be more attractive.
If you prefer an easier path from recording to basic editing, iTop may feel more approachable.
iTop Screen Recorder vs Camtasia
Camtasia is positioned more heavily toward screen recording combined with video editing.
G2 currently lists Camtasia as a major alternative to iTop Screen Recorder and notes its integrated editing capabilities.
For professional training, presentations and structured instructional videos, advanced editing can become important.
For simpler recordings, paying for a larger editing environment may not be necessary.
The right choice depends on how much post-production you actually perform.
iTop Screen Recorder vs Snagit
Snagit is another popular option for screen capture and documentation.
G2 currently lists it as one of the leading alternatives and highlights its screenshot and annotation capabilities.
Snagit can be particularly attractive to teams that frequently create documentation, instructions and visual explanations.
A user whose priority is primarily gameplay or video recording may evaluate the two differently.
Is the iTop Screen Recorder Safe to Use?
Safety questions are reasonable whenever software is downloaded from the internet.
The safest approach is to obtain the application from the official iTop website rather than an unofficial mirror, modified installer or pirated source.
The official support documentation provides download and installation guidance, and the official product page is the appropriate place to obtain the current version.
Users should also avoid cracked or key-generated copies.
Apart from legal and ethical concerns, modified installers can create security risks that have nothing to do with the legitimate software.
How to Get Better Recordings
The software can capture the screen, but good content still depends on preparation.
Clean Your Desktop
Close unrelated applications and notifications.
A cluttered desktop can make an otherwise professional tutorial look unfinished.
Test Your Microphone
Record ten seconds.
Listen to it.
Check whether your voice is clear.
This takes almost no time and can prevent an entire recording from becoming unusable.
Choose the Right Recording Area
Do not record the entire desktop if viewers only need to see one application.
A focused frame makes instructional videos easier to follow.
Use Webcam Carefully
A webcam overlay should support the content, not hide it.
Keep it away from important buttons, text and interface elements.
Record a Short Test First
Before recording a one-hour lesson or a long gaming session, make a short test clip.
Check picture quality.
Check audio.
Check synchronization.
Check storage space.
Then start the real recording.
Common Mistakes to Avoid
A screen recorder cannot automatically make poorly planned content good.
Several common mistakes are worth avoiding.
Recording at the Maximum Quality Every Time
Higher quality produces larger files.
If your final destination is a compressed social platform, extreme settings may provide little practical benefit.
Forgetting Audio
A screen recording without the required narration can be frustrating.
Always verify microphone and system audio before beginning.
Ignoring Storage
Long recordings can create very large files.
The official FAQ notes that recording length is also constrained in practical terms by available disk space, and longer recordings can create large files that affect storage and processing.
Recording Notifications
Desktop notifications can expose private information or interrupt the presentation.
Turn off unnecessary notifications before recording.
Overediting
Editing should improve the message.
It should not turn a simple tutorial into a complicated production project unless the content genuinely requires it.
Best Uses for iTop Screen Recorder
The software is especially relevant when the main objective is to explain, demonstrate or preserve something happening on a computer.
Some strong use cases include:
Software tutorials: Record exactly where to click and what to change.
Gaming videos: Capture gameplay and commentary.
Online education: Save demonstrations or create lessons.
Product demonstrations: Show software features visually.
Technical support: Record an error or troubleshooting procedure.
Presentations: Combine screen content with voice narration and webcam.
Social content: Turn longer recordings into shorter clips after editing.
A Simple Workflow for YouTube Creators
If your goal is YouTube, you can keep the process simple.
First, prepare your script or talking points.
Next, clean the desktop and close unnecessary applications.
Then select the appropriate recording region.
Enable your microphone.
Add the webcam if your content benefits from face-cam commentary.
Record a short test.
Start the full recording.
Afterward, remove mistakes and unnecessary pauses.
Add text or other elements where they improve clarity.
Finally, export the finished video in a format appropriate for your publishing platform.
This workflow avoids one of the biggest beginner mistakes: trying to make every video perfect before understanding the basics.
Should You Choose an iTop Screen Recorder?
The answer depends on what you expect from a recorder.
It can make sense if you want:
A relatively straightforward recording workflow.
Screen, webcam, audio and game capture in one application.
Built-in editing tools.
Mouse effects and annotations.
A dedicated gameplay mode.
Additional utilities such as screenshots and scheduling.
On the other hand, users with highly specialized production requirements may prefer a dedicated professional editor, streaming application or documentation tool.
There is no universal winner in screen recording software.
The best application is the one that fits the work you actually do.
Final Verdict
iTop Screen Recorder is more than a basic tool for taking a video of your desktop.
Its current feature set covers screen capture, webcam recording, audio capture, gameplay recording, screenshots and editing, while additional functions such as Auto Focus Recording, teleprompter support and scheduled recording broaden its usefulness.
For beginners, the strongest argument is the relatively simple recording workflow.
For gamers, the dedicated Game mode and hardware acceleration features are important.
For teachers and software trainers, mouse effects, webcam overlays and annotation tools can make explanations easier to follow.
For creators, the built-in editing workflow can reduce the need to move every recording into another application for basic post-production.
The main thing to remember is that software features are only part of the equation. Your computer hardware, recording settings, microphone, storage space and content planning all influence the final result.
If you need an easy way to capture Windows screen activity and create useful videos without building a complicated production setup, iTop Screen Recorder is worth evaluating. Start with the available version, test it against your own recording requirements, and only upgrade when the additional features solve a problem you actually have.
Frequently Asked Questions
What is an iTop Screen Recorder?
iTop Screen Recorder is a Windows screen recording application that can capture screen activity, webcam footage, audio and gameplay. It also includes screenshot and video editing functions.
Is the iTop Screen Recorder free?
A free version is available, while Pro provides additional capabilities. The current official comparison shows differences in areas such as recording limits, high-resolution export, watermark options and certain advanced functions.
Can the iTop Screen Recorder record gameplay?
Yes. It has a dedicated Game recording mode, and the current product page promotes GPU-accelerated gameplay recording at high resolutions and frame rates.
Can I record my webcam and screen at the same time?
Yes. The official documentation explains that webcam footage can be combined with screen recording as an overlay.
Can I record my microphone and computer audio together?
Yes. Users can enable microphone and speaker recording together before starting a screen recording.
Does the iTop Screen Recorder capture mouse clicks?
Yes. The software supports mouse actions and click effects, including highlight and animation options.
Can I record only part of my screen?
Yes. The recording interface provides options such as full screen, selected region and selected window recording.
Does the iTop Screen Recorder have a video editor?
Yes. The product includes built-in editing tools for working with recorded videos. Current product materials describe both quick and advanced editing capabilities.
Can I schedule a recording?
Yes, scheduled recording is documented as a Pro feature. Users can configure a start time, recording region and ending behavior.
Can an iTop Screen Recorder record audio without video?
Yes. The Only Audio mode is designed for audio-only recording.
Does it support screenshots?
Yes. Screenshot functionality is included as part of the application’s wider capture toolkit.
Can I use iTop Screen Recorder for YouTube videos?
Yes. Screen tutorials, gameplay, demonstrations and commentary videos are all suitable use cases. You should select recording settings according to the quality and file-size requirements of your publishing platform.
Is the iTop Screen Recorder better than the OBS?
Neither is universally better. OBS Studio is free, open source and particularly strong for streaming and advanced configuration, while iTop focuses on a more integrated recording and editing workflow.
Is the iTop Screen Recorder better than Camtasia?
It depends on the project. Camtasia is a major alternative with strong integrated video editing, while iTop can be attractive to users who want a simpler recording-centered workflow.
Does the iTop Screen Recorder work on Mac?
The official documentation and product information consulted for this article focus on Windows versions. Before installation, check the current official system requirements for your device and operating system.
How do I start recording with an iTop Screen Recorder?
Open the software, choose the recording mode, select the capture area, enable the microphone, speaker or webcam if required, and press REC. The official FAQ provides the same basic workflow.
Where are recorded videos saved?
The application provides a recording directory setting where users can check or change the location used for saved recordings.
Can I upload recordings directly to social platforms?
The official FAQ documents an upload option for platforms including YouTube, Facebook, Instagram and Twitch.
Does the iTop Screen Recorder have a watermark?
Watermark behavior depends on the selected version and settings. The official FAQ explains that users can choose watermark options, while the current feature comparison lists additional no-default-watermark capabilities for Pro.
Recommended Official Resources
For readers who want the latest product information, the safest reference is the official iTop Screen Recorder website rather than an outdated third-party download page.
iTop Screen Recorder User Manual
Conclusion
Choosing screen recording software is ultimately about matching features to the job.
Someone recording a quick tutorial needs a different workflow from a gamer capturing high-frame-rate gameplay. A teacher may care more about webcam and annotation controls, while a business user may prioritize fast sharing and simple editing.
That is where iTop Screen Recorder has a practical advantage: it brings several of these needs into one Windows-focused application.
Its screen, webcam, audio and game recording modes cover the fundamental tasks, while features such as mouse effects, built-in editing, screenshots, teleprompter support, Auto Focus Recording and scheduled capture extend the workflow beyond basic screen recording.
The smartest approach is not to judge a recorder by the size of its feature list.
Instead, identify what you actually need to create.
If your goal is to record a software tutorial, capture gameplay, explain a process, create an online lesson or produce screen-based content, test the relevant functions first. That practical test will tell you far more than a generic “best screen recorder” list.
And if the software fits your workflow, the biggest benefit is simple: you can spend less time fighting the recording setup and more time creating the content your audience came to watch.